


Table of Contents
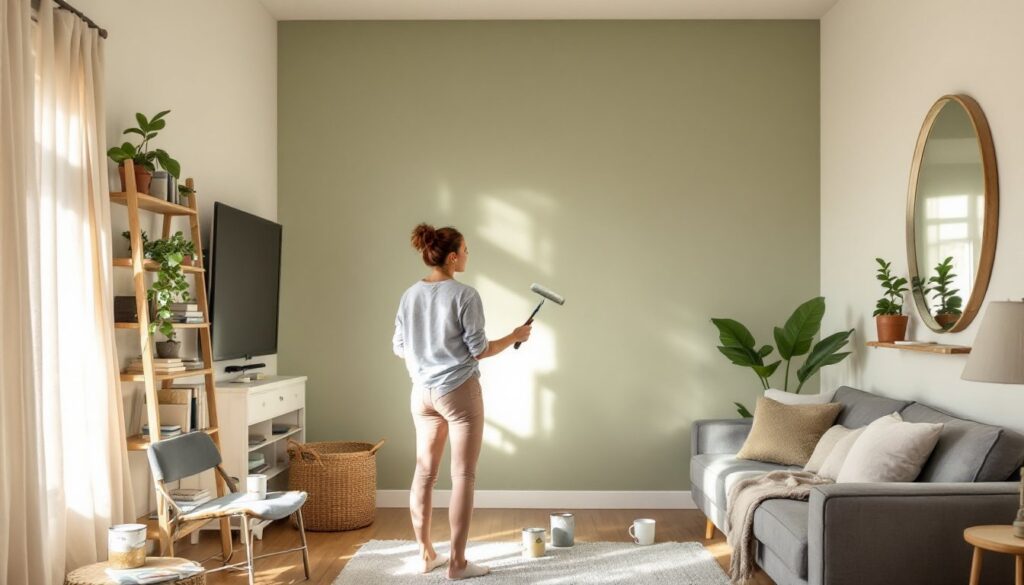
ToggleIf you’re tackling an <a href="https://gh-books.com/interior-design-for-beginners/”>interior design project, whether it’s a full room refresh or a multi-phase renovation, you already know that organization wins the day. A purchase order template isn’t just a piece of paper, it’s your project’s backbone, keeping vendors accountable, costs transparent, and timelines crystal clear. For homeowners and DIY enthusiasts juggling multiple suppliers, materials, and deadlines, a solid interior design purchase order template prevents miscommunications, budget overruns, and the dreaded “wait, did we order that?” moment. In this guide, we’ll walk you through what goes into an effective template and how to use it to keep your design project on track.
Key Takeaways
- An interior design purchase order template is a binding agreement that prevents scope creep, clarifies vendor expectations, and protects your budget from overruns.
- Effective purchase orders require detailed specifications including exact product names, colors, measurements, quantities, delivery dates, and warranty terms to eliminate miscommunication.
- Create separate purchase orders for each vendor rather than bundling multiple orders, making tracking easier and holding each supplier accountable for their deliverables.
- Document all purchase orders in digital and printed formats, follow up with vendors within days of issuing, and inspect items immediately upon arrival against PO specifications.
- Maintain a master spreadsheet listing all POs with vendor names, amounts, delivery dates, and status to gain real-time visibility into your project’s budget and timeline.
- Use your purchase order as formal leverage if vendors miss deadlines or deliver incorrect items, referencing the agreement to professionally resolve disputes.
What Is an Interior Design Purchase Order and Why You Need One
A purchase order (PO) is a formal document you send to a vendor that details exactly what you want to buy, when you want it, and at what price. Unlike a quote or estimate, a PO is a binding agreement that creates a record of the transaction.
For interior design projects, a PO serves several critical roles. First, it clarifies expectations, both yours and the vendor’s. Second, it creates a paper trail for disputes, refunds, or warranty claims. Third, it keeps costs anchored. Without a written PO, you risk scope creep where “just a couple of add-ons” turns into a 20% budget overrun.
Consider a scenario: you order custom curtains from a fabric shop, specify the measurements and hardware, and agree on a delivery date. Without a PO documenting those details, you might receive the wrong size or have no recourse if delivery slips. With one, you have leverage and clarity. This is especially important when working with multiple vendors, upholsterers, paint suppliers, tile contractors, and furniture makers, each handling different pieces of your project.
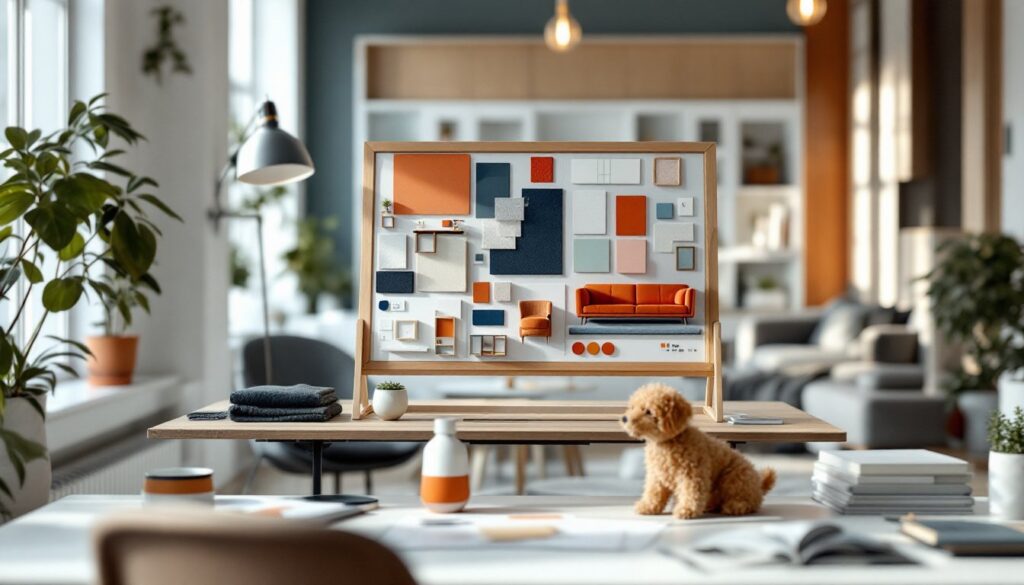
Key Components of an Effective Purchase Order Template
Project Details and Specifications
Start with the project name and a unique PO number. This number becomes your reference point in all future correspondence with the vendor. Include the project location (room, address) and the date issued.
Next comes the detailed item description. Don’t just write “paint.” Instead, specify: Benjamin Moore Aura Interior Latex, Chantilly Lace, eggshell finish, 5 gallons. Include measurements, colors, material grades, and finishes. If ordering flooring, note the exact product name, plank dimensions, and square footage. For furniture, include dimensions, upholstery material, color, and leg style. The more specific you are, the less room for error.
Quantity and unit price go side by side. Be explicit: “3 rolls of 48-inch-wide wallpaper” or “12 linear feet of oak baseboard, 3.25 inches tall.” Many mix-ups happen because quantities are ambiguous, is it 10 sheets or 10 boxes?
Always include delivery and installation expectations. State the delivery address, preferred date, and whether the vendor is responsible for unboxing, placing, and hauling away old materials. Some vendors include this: others charge extra. Clarifying upfront prevents surprises.
Vendor and Cost Information
List the vendor’s full business name, address, phone number, and contact person. Include their tax ID if relevant for your records.
Break down the cost clearly: subtotal, any applicable taxes, shipping, and installation fees. Calculate the final total amount due. Include payment terms, is it due upon order, upon delivery, or net 30 days? Some vendors demand a deposit: others work on net payment. Document this in writing.
Add a section for warranty and return policies. Does the vendor guarantee the product for one year? Are there restocking fees? Can you return unused items? Interior Design Archives often feature projects that highlight how crucial it is to understand vendor policies before committing.
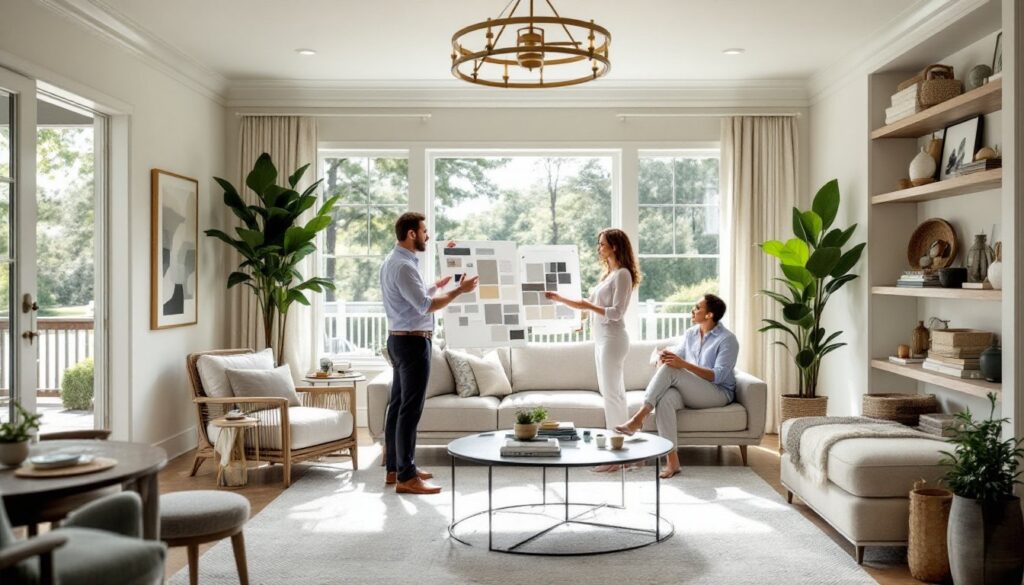
How to Customize a Template for Your Interior Design Projects
Every project is different, so your template needs flexibility. Start with a master PO template that includes all the sections above, then adapt it based on what you’re ordering.
If you’re ordering paint from a hardware store, you might need minimal customization, just list paint cans, colors, and finishes. If you’re ordering custom cabinetry, you’ll need additional fields for installation timelines, finish samples, and hardware specifications.
Create separate POs for each vendor. One PO per vendor makes tracking easier and prevents confusion. It also lets you hold each vendor accountable for their specific deliverables. When managing a complex project involving a tile contractor, a paint supplier, and a furniture maker, having three separate POs is cleaner than bundling everything together.
Consider adding notes sections to your template. Use these to record special requests, color matching details, or edge-case decisions. For example: “Tile caulk to match grout color #4521” or “Confirm fabric roll direction before cutting.”
Also build in a contingency line item. If you’re unsure of final quantities or costs, add 5–10% buffer to account for surprises. This prevents the awkward moment when a vendor delivers 99 feet of trim when you ordered 100.
Many homeowners use spreadsheet templates from Excel or Google Sheets, which work fine for simple projects. For larger renovations, free templates from HomeAdvisor or spreadsheet libraries offer more structure. The key is consistency, use the same format throughout your project so all POs are comparable and organized.
Best Practices for Managing Purchase Orders During Your Design Project
Once you’ve issued a PO, document everything. Keep copies in both digital and printed form. Store PDFs in a project folder on your computer, and print a copy to keep in a binder on site.
Follow up with the vendor within a few days of sending the PO. Confirm receipt and ask if they have any questions about specifications. This quick touch-base prevents misunderstandings from festering. Also ask for a confirmation of the delivery date, get it in writing.
Before the vendor delivers, review the PO yourself one last time. Verify quantities, colors, dimensions, and delivery instructions. If you ordered 3 boxes of 12-inch ceramic tile in matte white, count those specifications again before signing for delivery.
When items arrive, inspect them immediately. Check quantities, colors, and condition against the PO. If a vendor delivers paint that’s a different sheen than you ordered, or tiles with slight chips, flag it right away. Once you’ve accepted and signed off on a delivery, most vendors won’t accept returns or adjustments.
Keep a running spreadsheet of all POs: vendor name, PO number, amount, delivery date, and status (ordered, delivered, invoiced). This master list gives you a snapshot of your project’s budget and timeline at a glance. Many homeowners use Houzz or similar platforms that integrate with vendor management tools, though a simple spreadsheet works just as well.
If a vendor misses a delivery date or provides the wrong item, use your PO as leverage. It’s a formal document that outlines what they agreed to. Politely reference it: “According to PO #2401-003, the delivery was scheduled for March 15th. Can we reschedule for March 22nd?” This approach is much more effective than vague complaints.
As interior design tips often emphasize, planning prevents headaches. The same goes for purchase orders, they’re the planning tool that keeps your project moving smoothly and your relationships with vendors professional and clear.
Conclusion
An interior design purchase order template is one of the simplest yet most powerful tools you can use to keep your project on track. It clarifies expectations, protects your budget, and creates a record of every transaction. Whether you’re ordering paint, flooring, furniture, or fixtures, taking five minutes to fill out a detailed PO saves hours of confusion and frustration down the road.
Start with a basic template, customize it for each vendor, and stick with it from project start to finish. Your future self, and your wallet, will thank you.