

Table of Contents
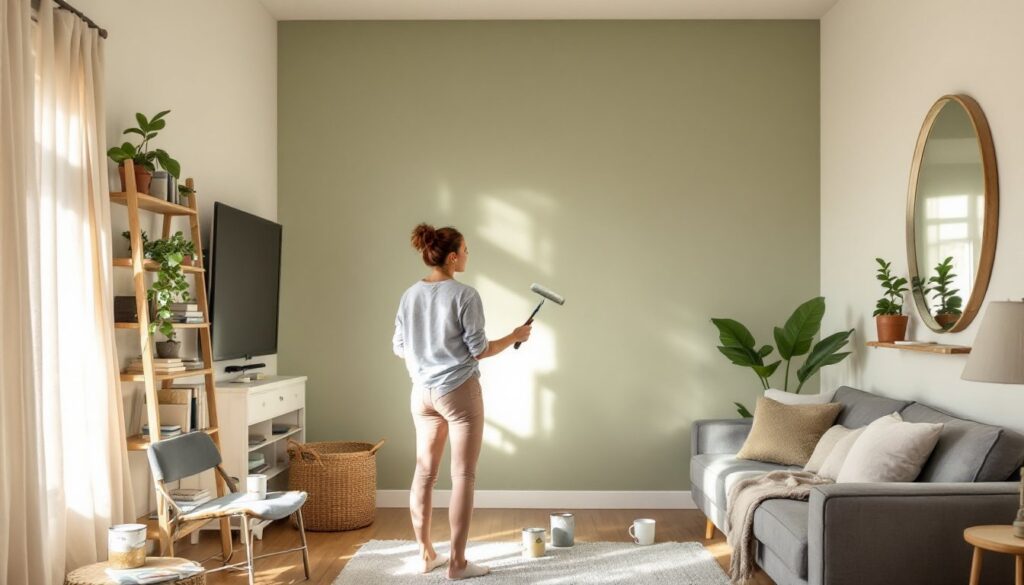
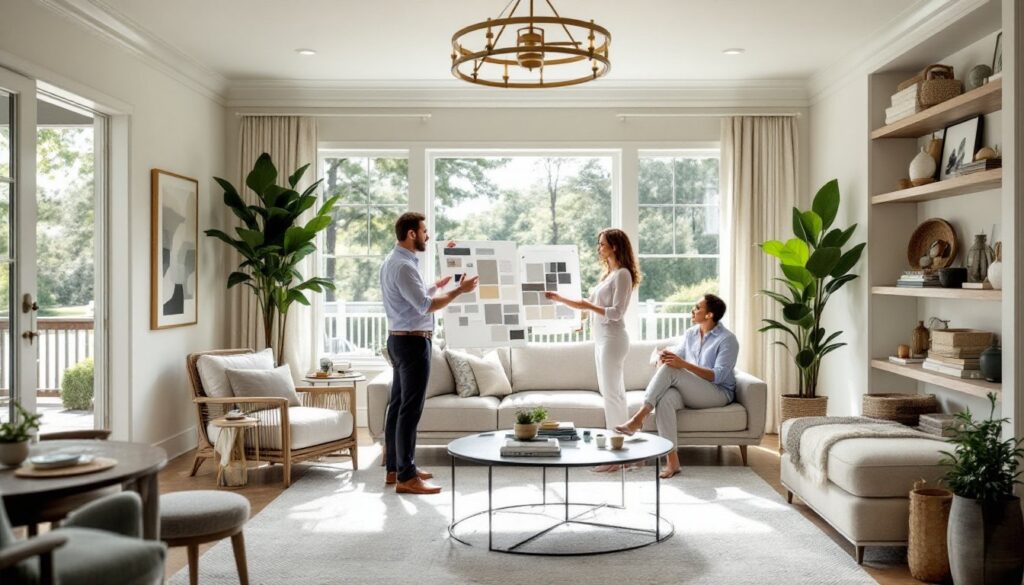
ToggleMost homeowners planning a renovation or room redesign sketch ideas on paper or scroll through Pinterest, then hit a wall when they try to visualize it in reality. AutoCAD for interior design bridges that gap. It’s the same software architects and professionals use, but it’s far more accessible than it sounds. This guide walks you through the essentials: why AutoCAD matters for home projects, how to set it up, and how to create a functional layout that actually works in your space. You don’t need years of training, just patience, a basic understanding of your room’s dimensions, and willingness to learn the interface.
Key Takeaways
- AutoCAD for interior design lets homeowners test multiple furniture layouts in minutes before committing to physical changes, avoiding costly mistakes like ill-fitting pieces or awkward traffic flow.
- Accurate measurements of your room’s dimensions, doors, windows, and architectural features are critical—mistakes in the base drawing cascade through the entire project and compromise real-world functionality.
- Organize your AutoCAD drawing with separate layers for walls, furniture, dimensions, and notes to easily compare layout options and keep your design clear and flexible.
- Design furniture placement around functional principles like 2.5–3 feet minimum walkways, desk placement with window views, and the kitchen working triangle to ensure both aesthetics and practical usability.
- Building a furniture library of pre-drawn blocks and exporting your final AutoCAD plan as a PDF saves time, communicates your design professionally to contractors, and helps you calculate accurate material estimates.
- You don’t need advanced training or the full AutoCAD suite—the free AutoCAD Web App or standard 2D AutoCAD are sufficient for most residential interior design projects.
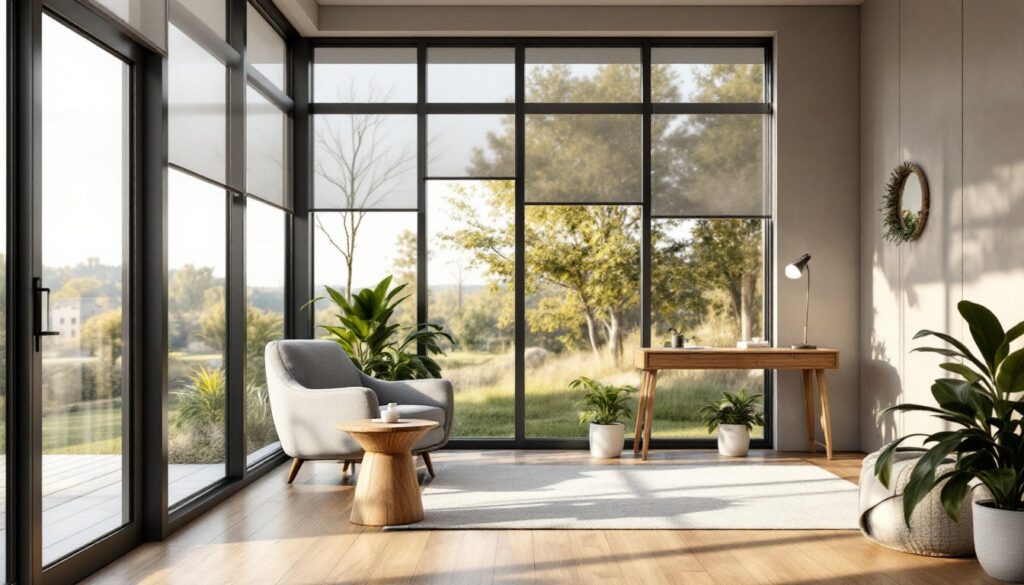
Why AutoCAD Matters For Home Design Projects
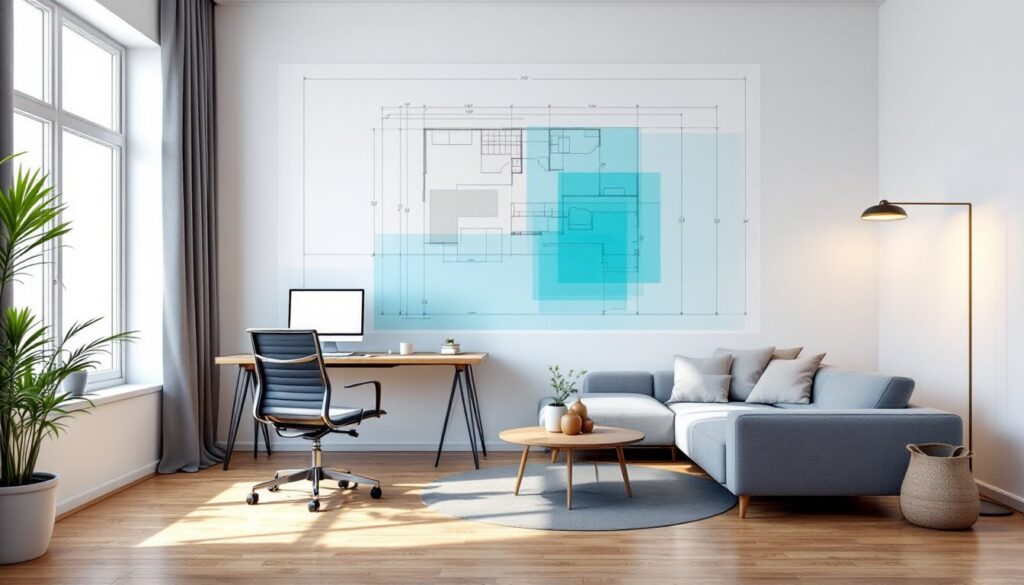
AutoCAD isn’t just for commercial architects. When you’re planning a kitchen remodel, a bedroom refresh, or repositioning furniture to maximize flow, having an accurate 2D floor plan beats guessing. A scaled drawing lets you see what actually fits before you move a single piece of furniture or commit to layout changes.
Here’s the practical advantage: you can test multiple furniture arrangements in minutes. Does the sofa work with the dining table on that wall? Can you fit a desk by the window without blocking the door swing? AutoCAD shows you instantly. You avoid costly mistakes, like ordering a sectional that doesn’t fit the space or discovering traffic flow is awkward after living with your layout for a month.
Beyond furniture, AutoCAD helps with material estimates. Measuring your walls accurately in the software means you know exactly how much paint, tile, or wallpaper to order. Less waste, fewer trips back to the store. When paired with interior design principles, AutoCAD becomes a tool that bridges aesthetics and function, showing you where form and practicality meet.
Getting Started With AutoCAD For Interior Design
Essential Tools And Features For Home Planning
You don’t need the full AutoCAD suite for interior design work. AutoCAD Architecture or the standard AutoCAD (2D plan view) handles most residential projects. There’s also AutoCAD Web App, a free browser-based version with limited but functional tools, great for testing before investing in a subscription.
Key features you’ll use most:
• Lines and shapes – Draw walls, windows, and doors
• Layers – Organize furniture, walls, dimensions, and notes separately (essential for clarity)
• Blocks – Pre-drawn furniture shapes and objects to place repeatedly
• Dimensions – Add measurements directly to your plan
• Hatching – Fill areas with patterns (useful for flooring materials, tile layouts)
Before opening the software, download or create a furniture library. Many designers use pre-made blocks available online, or you can draw simple rectangles and label them (sofa 8′ × 3′, bed 5′ × 6.5′, etc.). This saves huge amounts of time versus drawing custom furniture for every project.
If you’re not ready for the learning curve, alternatives like home design software offer similar capabilities with gentler interfaces. But, AutoCAD’s precision and flexibility reward the effort invested.
Creating Your First Interior Design Layout
Measuring And Setting Up Your Room Dimensions
Accuracy here determines everything else. Grab a 25-foot or longer tape measure and measure your room in three passes to catch mistakes. Record wall lengths, the width and height of windows, door locations, and any architectural quirks, alcoves, angled ceilings, built-in shelves.
Note the direction doors swing (into or out of the room) and mark where they stop. These details seem tedious but transform a flat drawing into a plan you can actually build from. Many DIYers skip this and end up with a layout that looks great on screen but fails in practice because a closet door blocks the furniture arrangement.
In AutoCAD, set your drawing units to feet and inches (if you’re in the US). This keeps all your dimensions readable. Create a new file, use the “Draw” menu to create lines for walls using your recorded measurements, then place door and window blocks where they belong. Draw the perimeter first, that’s your foundation. A typical bedroom might be 12′ × 14′, so you’d draw four lines connecting at those dimensions.
Once the shell is right, drop a dimension line (from the “Dimension” menu) along each wall to label it. This serves as your visual check: if AutoCAD says 12 feet but your tape measure said 11.75 feet, you’ve caught an error before proceeding. Many professionals at dwell.com emphasize that mistakes in the base drawing cascade through the entire project.
Designing Furniture Placement And Flow
With your room shell complete, add furniture blocks to test layouts. Create new layers for furniture, keeping it separate from architectural elements. This lets you hide or show furniture without erasing it, invaluable for comparing options.
Start with your largest or most fixed piece: a sofa, bed, or dining table. Place it on the wall you’ve chosen, then add secondary pieces. Leave walking paths clear, typically 2.5 to 3 feet minimum between major furniture pieces. A living room should have at least one path to the window or main seating area: a bedroom needs clear access to the bed on both sides and to the closet.
Test reach and function. If you’re designing a home office, place your desk with a window view (if possible) and ensure a chair can roll back without hitting a wall. In a kitchen, apply the “working triangle” principle: your stove, sink, and fridge form three corners of activity, and the distances between them matter for efficiency and safety.
Use grips and snap tools in AutoCAD to align furniture neatly. The snap-to-grid feature keeps things straight without fussing. Once you’ve placed a sofa, copy it (if you’re designing a second identical space) or draw variations quickly on a new layer labeled “Layout Option 2” or “Layout Option 3.”
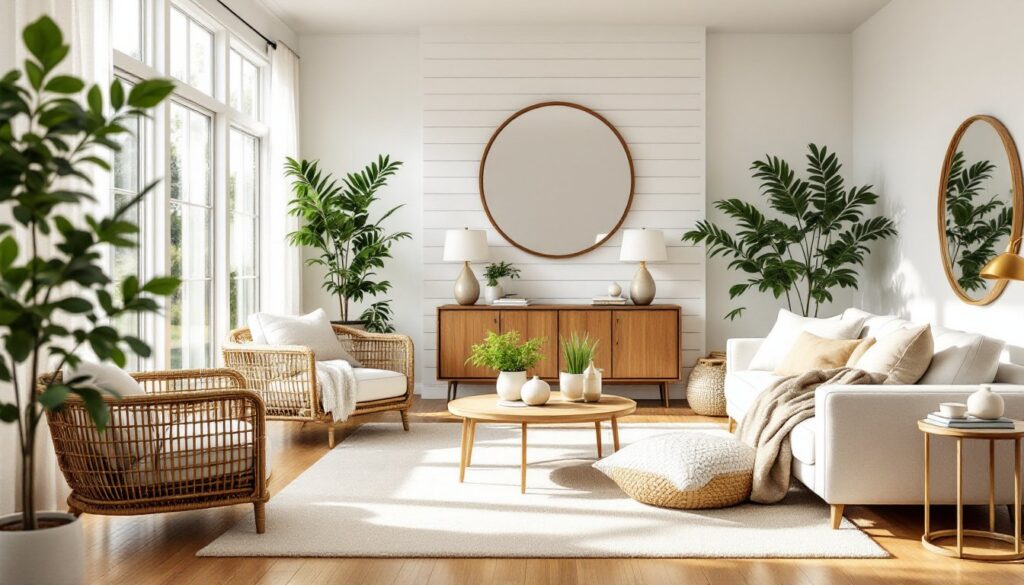
When your layout feels right, add annotation (text labels) to note material choices: “hardwood flooring” here, “tile backsplash” there. This turns your 2D plan into a reference document for contractors or for your own purchasing decisions. Many homeowners find interior design examples helpful at this stage, AutoCAD lets you overlay your measurements and proportions onto inspiration images to validate choices.
Export your final drawing as a PDF to share with a contractor, designer, or family members who’ll help execute the work. The precision reads far more professionally than a hand sketch, and it’s easier to spot questions or conflicts before construction starts.
Conclusion
AutoCAD for interior design removes the guesswork from home projects. It’s not a magic tool, it requires honest measurements and thoughtful planning, but it replaces vague mental pictures with scaled, accurate layouts you can trust. Whether you’re repositioning furniture, planning a renovation, or estimating materials, the time spent learning the basics pays for itself in avoided mistakes and smarter design decisions. Start simple, build a furniture library, and practice on one room before tackling a larger project.